
Dealing with a leaking pipe in your plumbing system can be a frustrating experience. However, with the right knowledge and tools, you can address the issue promptly and effectively. Leeva Plumbing and Heating, covering Belper, Alfreton, Derby, Ripley, and surrounding areas, understands the importance of tackling plumbing problems swiftly. In this article, we will provide you with step-by-step instructions on how to fix a leaking pipe in your plumbing system, along with essential safety tips and the tools you’ll need. By following these guidelines, you can save time, money, and potential water damage in your home.
Step 1: Turn Off the Water Supply
Before you begin any repairs, it is crucial to turn off the water supply to the affected area. Locate the main shut-off valve in your home and close it to prevent further water flow. This will help minimise the risk of flooding and ensure a safer working environment.
Step 2: Drain Excess Water
Next, drain any remaining water from the pipe to relieve pressure and make the repair process easier. Turn on the taps connected to the affected pipe and allow the water to flow out. It is essential to catch the water in a bucket or use towels to prevent water damage.
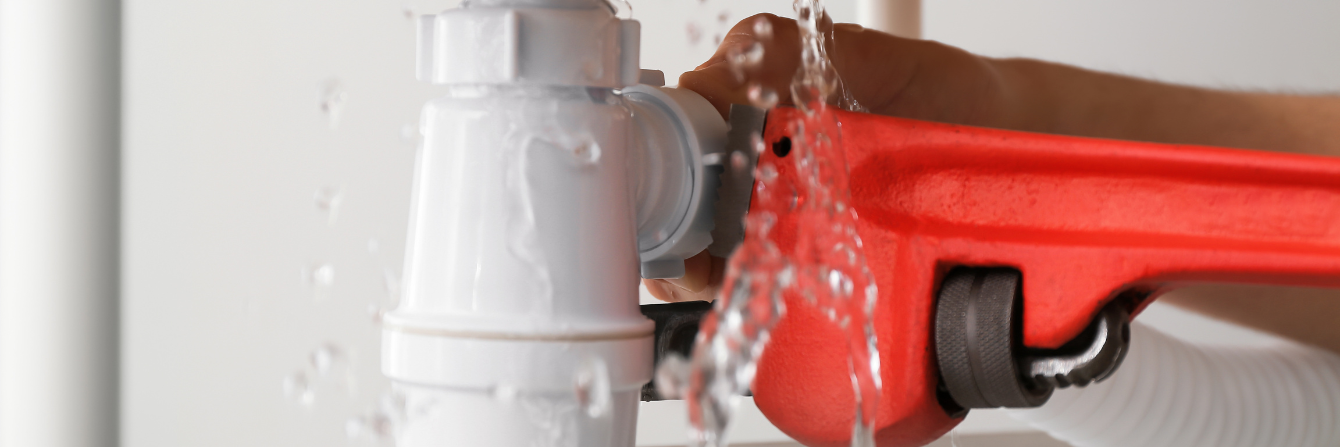
Step 3: Identify the Leaking Area
Thoroughly inspect the leaking pipe to identify the exact location of the leak. Look for signs of corrosion, cracks, loose fittings, or damaged joints. Identifying the source of the leak will help determine the best course of action for repair.
Step 4: Prepare the Pipe and Fittings
Once you have identified the leaking area, prepare the pipe and fittings for repair. Use a pipe cleaning solution or a piece of sandpaper to remove any debris, rust, or residue from the pipe surface. This step ensures a clean and smooth surface for proper adhesion of the repair materials.
Step 5: Apply Pipe Repair Tape or Epoxy Putty
For minor leaks, you can use pipe repair tape or epoxy putty as temporary fixes. Wrap the pipe repair tape tightly around the leaking area, overlapping the tape by a few inches on each side. Alternatively, knead the epoxy putty according to the manufacturer’s instructions and apply it directly onto the leak. Smooth it out to ensure proper coverage and adhesion.
Step 6: Use Pipe Clamps or Compression Fittings
For more significant leaks or damaged sections of the pipe, you may need to use pipe clamps or compression fittings. Cut out the damaged section of the pipe using a pipe cutter or a hacksaw. Ensure the cut is clean and straight. Insert the new section of pipe, along with the appropriate fittings, and tighten the clamps or compression rings securely. Follow the manufacturer’s instructions for specific guidelines.
Step 7: Test the Repair
Once the repair is complete, turn on the water supply gradually and check for any signs of leakage. Monitor the repaired area closely to ensure that the fix is effective. If there are no further leaks, you have successfully fixed the leaking pipe in your plumbing system.
Safety Tips
- Always wear protective gloves and safety glasses when working with plumbing repairs to avoid injury.
- Be cautious of electrical components near the repair area and ensure they are safely disconnected before proceeding.
- If you are unsure about the severity of the leak or the repair process, it is advisable to consult a professional plumber, such as Leeva Plumbing and Heating, for expert assistance.
Fixing a leaking pipe in your plumbing system can be a manageable task with the right approach. By following the step-by-step instructions provided above, along with essential safety tips, you can confidently address the issue and prevent further water damage. Remember, for more complex or extensive plumbing, call Leeva on (01773) 749 713.
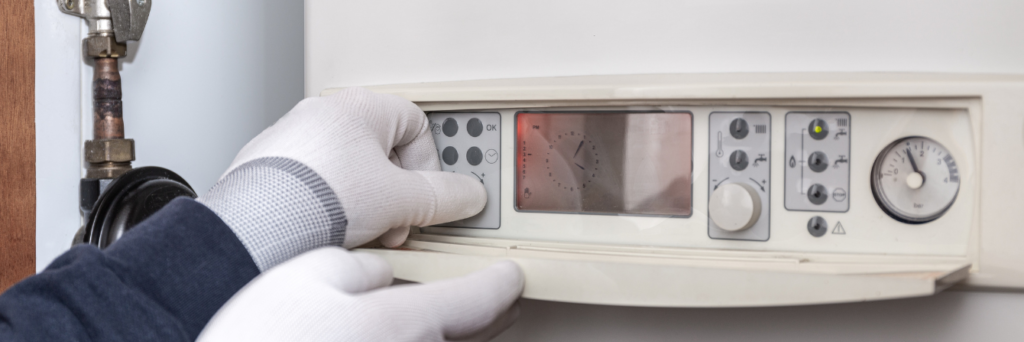
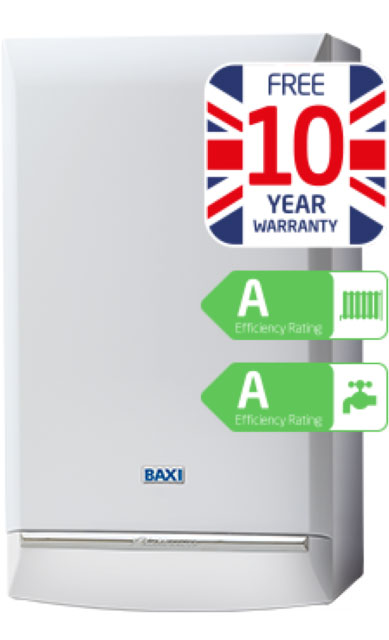 Fully Installed Baxi Boiler